Lazy Girl Waves With A Flatiron
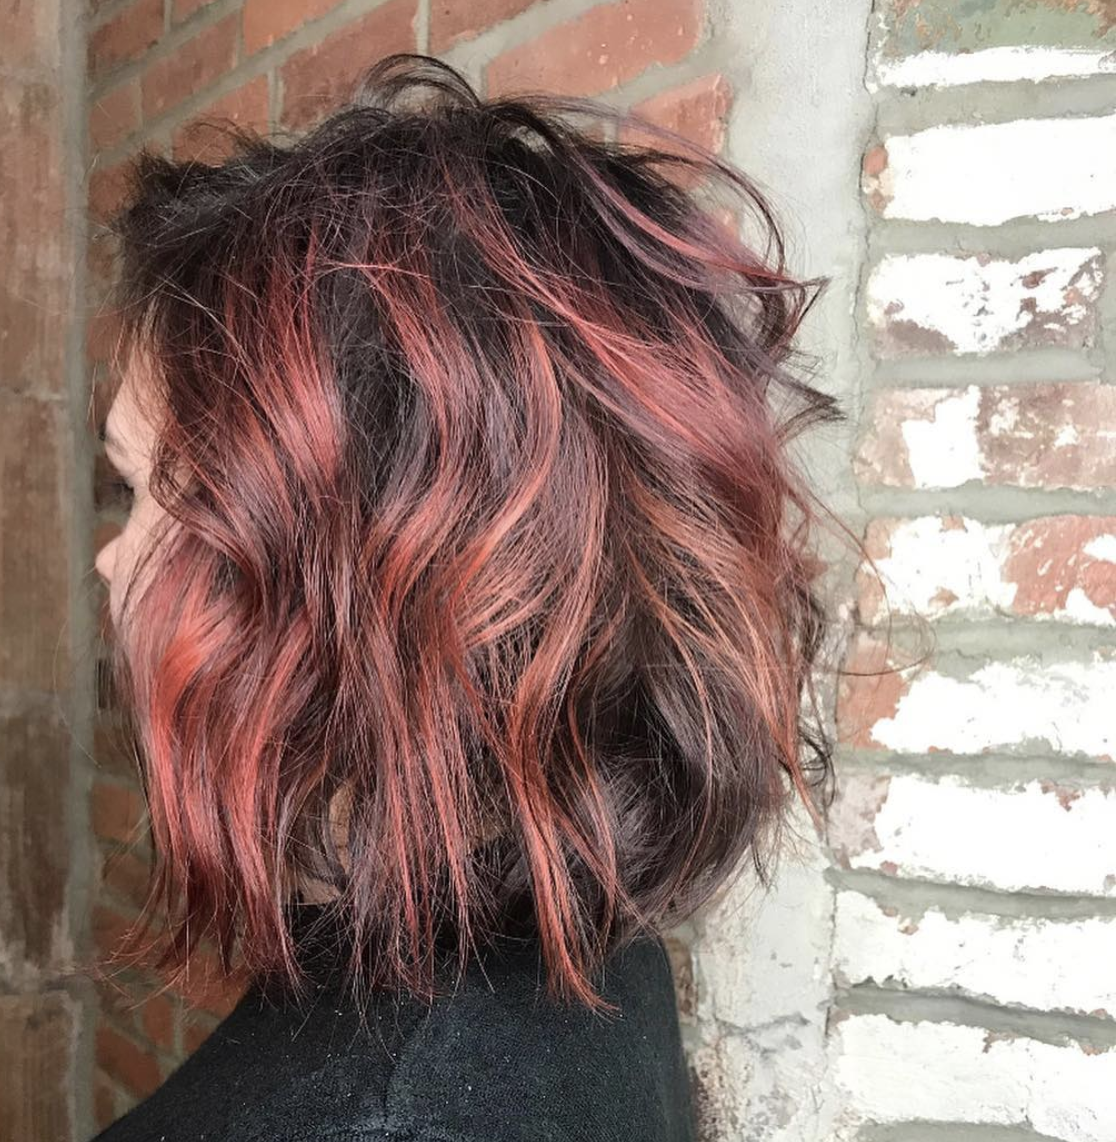
/Lazy Waves. Beach Hair. The S Wave. These are just a few of the names the beauty industry and Internet have coined for those loose, almost not there curls that have taken everyone’s Instagram feeds by storm. They look effortless, but we all know it takes time, energy, and the right technique to pull off the “I woke up like this,” effect. Tousled, undone waves aren’t new, but the latest rendition, called S Waves, can be achieved with your flatiron, which already makes them the perfect wave technique when you’re on a time crunch, traveling, or if you need a low maintenance routine. When learning a new styling practice it can feel a bit daunting , and trust us when we say, we’ve been there! But with some practice and following our guide we hope it makes it a little easier for you to achieve the waves you want.
Why the Flatiron?
**IMPORTANT NOTE: make sure your flatiron has rounded edges. That’s essential for using it to curl!
The beauty of S waves is that you can use a flatiron OR a curling wand to achieve the look, but today we’re going to talk specifically about how to use a flatiron. Why a flatiron? Curling wands make more of a pronounced wave, and we’re trying to achieve as minimalist of a wave possible. It’s also economical and when traveling you’ll only have to pack one heating tool!
Don’t Crank The Heat, At First
If you’re new to using your flatiron as a curling tool, start by lowering the heat level while you get the hang of the technique. It’ll take two, three, even five times to nail the angle and speed of the twisting motion and also avoid the much despised crease line that flatirons can make if you hold it in one spot too long.
STEP 1
Section your hair in a way that feels most comfortable to you and so it’s easy to handle. The size of your flatiron will determine how large of sections you can curl at a time. If you have a 1” flatiron, we recommend curling 1” sections at a time. This will help make the heat more evenly distributed and the waves more defined.

STEP 2
Clamp your 1” section of hair and in a smooth motion twist the flatiron so the hair semi-wraps around the flatiron’s body and pull down. Think of your wrist twisting in a roughly 180 degree circle. The more you twist the hair around the flatiron, the tighter the curl. This is the motion you should practice a few times on the low level heat.
Important note: release your hair from the flatiron before reaching your strand ends. It helps keep the curls less structured and avoids a lot of heat damage.
STEP 3
Don’t feel pressure to make every wave perfect. The beauty of this style is that it’s supposed to look natural — some hair strands more wavy than others and vice versa.
Feeling inspired? Follow us @parlorbeautyofficial for more hair inspiration.
